Creating, Displaying and Assigning a Model to Display
With the assumption that the Model already exists in AF, please do the following to create a new model:
Open the PI ProcessBook.

Select File > New (as shown in Figure 146).
A "New" window opens.

Select the ProcessBook Display (.pdi) File option.
In the Display Name box, type a name for the file.
Click OK to save the file and close the New window.
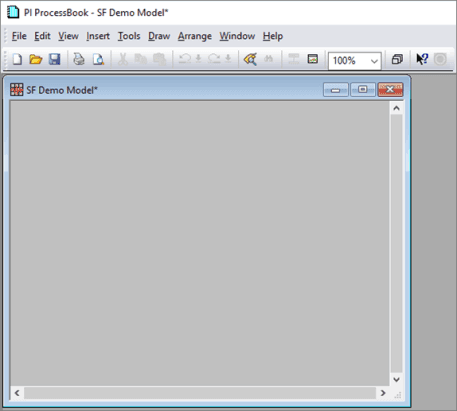
A New empty display file is created and appears in the ProcessBook with the name 'SF Demo Model'.
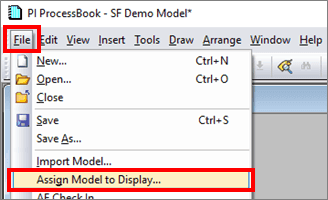
From the menu, select File > Assign Model to Display... (as shown in Figure 149).
The Set Model for Display window opens.
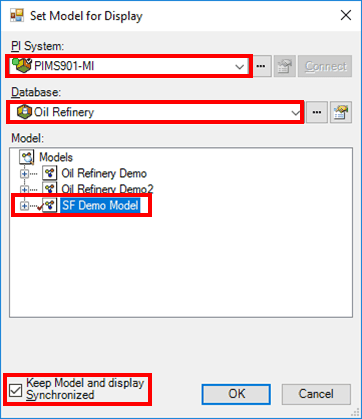
Click the PI System down-arrow and select the server where the Model is to be stored.
If the server you need is not listed, click the
 ellipsis button to open a server selection window where you can locate and select the server.
Click the Database down-arrow and select the database in which the Model is to be stored.
If the database you need is not listed, click the
ellipsis button to open a database selection window where you can locate and select the database.In the Model area, highlight the Model that was created in System Explorer (in our example our Model name is the same as the display name).
To ensure that the display remains synchronized with the model , check the Keep Model and Display Synchronized checkbox.
Click OK to close the Set Model for Display window.
You are returned to the PI ProcessBook window.
To save the model:
From the menu, select File > Save.
Choose a location on your local or shared network drive for the file, a ProcessBook.pdi file.
Note: Saving to a shared network drive allows easy access to the file from multiple desktop locations.
After saving the file, an AF Check-In automatically runs to synchronize the Model in the database on the Sigmafine Server.